
This guide has not yet been updated for the current season. Please keep this in mind while reading. You can see the most recently updated guides on the browse guides page
Vote received! Would you like to let the author know their guide helped you and leave them a message?

![]() Purification Beads can be replaced for
Purification Beads can be replaced for ![]() Aegis Amulet
Aegis Amulet
![]() Death's Toll can be replaced for
Death's Toll can be replaced for ![]() Vampiric Shroud or
Vampiric Shroud or ![]() Leather Cowl. Upgrade for
Leather Cowl. Upgrade for ![]() Blood-Soaked Shroud or
Blood-Soaked Shroud or ![]() Hunter's Cowl I personally have not tried these, this is very experimental.
Hunter's Cowl I personally have not tried these, this is very experimental.
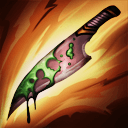
 Death's Toll
 Spiked Gauntlet
 Healing Potion
 Mana Potion
 Purification Beads
 Devourer's Gauntlet
 Asi
Asi
 Demon Blade
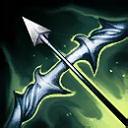
 Qin's Sais
 Deathbringer
 Death's Embrace
Replace wind demon with ![]() Poisoned Star if you find that your enemies keep getting away.
Poisoned Star if you find that your enemies keep getting away. ![]() Poisoned Star is also good with Charybdis' ult,
Poisoned Star is also good with Charybdis' ult, ![]() The Maw Hungers
The Maw Hungers
Alternately, replace wind demon with ![]() Shadowsteel Shurikenor
Shadowsteel Shurikenor ![]() Toxic Blade for antiheal if it's something you're struggling with.
Toxic Blade for antiheal if it's something you're struggling with.
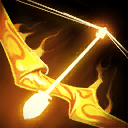
While I believe the attack speed from my build is reasonable, I also think that ![]() Odysseus' Bow can be option for an extra punch.
Odysseus' Bow can be option for an extra punch. ![]() Odysseus' Bow could be replaced for
Odysseus' Bow could be replaced for ![]() Qin's Sais
Qin's Sais
 Poisoned Star
 Shadowsteel Shuriken
 Toxic Blade
 Odysseus' Bow
By playing this build and reaching GM3 in one day, I can safely say that your first relic should be ![]() Aegis Amulet or
Aegis Amulet or ![]() Purification Beads based on your enemy lineup. Then, if you're not getting crushed (which you shouldn't), i'd pick up
Purification Beads based on your enemy lineup. Then, if you're not getting crushed (which you shouldn't), i'd pick up ![]() Blink Rune for intense team fights.
Blink Rune for intense team fights.
 Aegis Amulet
Purification Beads
Aegis Amulet
Purification Beads
 Blink Rune
It is essential that you focus your ![]() Spike Shot early game as it is an amazing wave clear- this also helps boost your
Spike Shot early game as it is an amazing wave clear- this also helps boost your ![]() Devourer's Gauntlet.
Devourer's Gauntlet.
Make sure you nab ![]() The Maw Hungers any chance you get, aka: lvl 5, 9, 13, 17, 20.
The Maw Hungers any chance you get, aka: lvl 5, 9, 13, 17, 20.
![]() Capsize is the skill you should focus mid-game as it's your second good output of damage.
Capsize is the skill you should focus mid-game as it's your second good output of damage.
Lastly, ![]() Whirlpool Form should be done last as it's usually just a reasonable escape. You can level this sooner if you find yourself struggling to survive or make good escapes.
Whirlpool Form should be done last as it's usually just a reasonable escape. You can level this sooner if you find yourself struggling to survive or make good escapes.
 Y
Y
 B
B
 A
A
 X
X

Tap each threat level to view Charybdis’s threats
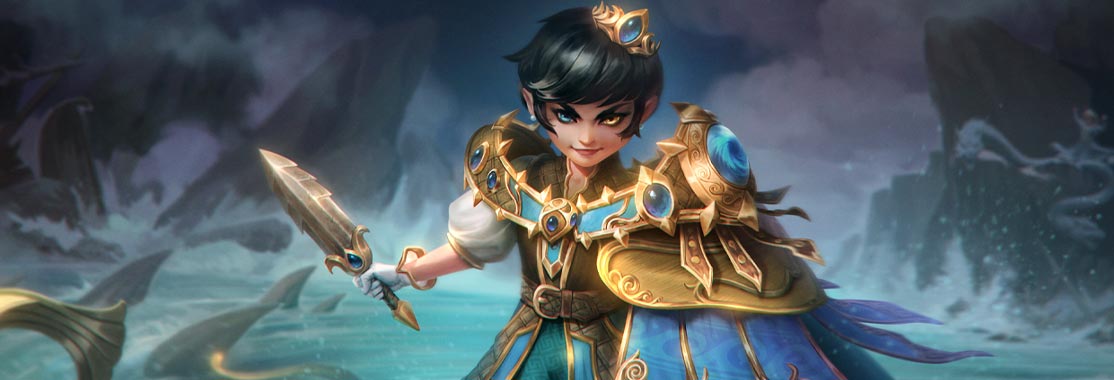
Hello, everyone! Nice to meet you, I am sourgood4u, you can call me sour :). I have actually done one other build Hera: Queen of Joust (and Gods)). To be honest, I am a hardcore Conquest player and as I said in my prior guide, I easily consider myself a casual player who constantly gets bullied for the smallest things.
This guide is based off my first-day matchups as ADC ![]() Charybdis. Enjoy! (and please be kind).
Charybdis. Enjoy! (and please be kind).
SMITEFire is the place to find the perfect build guide to take your game to the next level. Learn how to play a new god, or fine tune your favorite SMITE gods’s build and strategy.
Copyright © 2019 SMITEFire | All Rights Reserved


I appreciate your efforts on this writeup. That said, I have a lot of feedback for you.
- You're building 3x lifesteal type items (Embrace isn't technically lifesteal, it's health restore, but it is still affected by anti-heal). Your reliance on lifesteal can be severely harmed by anti-heal items, which is why I wouldn't suggest it. You might get away with this in lower levels where people might not be aware enough to notice how easily it would be to counter this, but otherwise it's not something I'd suggest. At max, I would say you would be okay with DT/DE + EITHER Devo's or Asi, but not both.
- Another reason not to get both is to free up a space for another item. You're 100% lacking in one key stat; penetration. While you get a bit of it in Wind Demon (only when you crit), you'll notice all strong builds include more pen than you have. The bow builds usually have both
 Silverbranch Bow and
 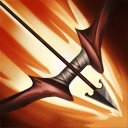 Atalanta's Bow or
  The Executioner, while crit builds will often use both
  The Executioner and Wind Demon.
- When you're focusing on crits, I'd suggest less focus on
 Qin's Sais until your build is solid with the other things. Besides the lack of pen, your crit chance is a bit on the low side. Typically, it's good to try to get your chance up higher (50+%), as it becomes more reliable. There are a couple ways you could consider this functionally. 1: Get 3 crit items, with Wind Demon and
  Deathbringer being core. Add either
  Poisoned Star or
  Shadowsteel Shuriken to these. 2: change DT / DE to
  Ornate Arrow. Yes, that goes against your high sustain motif, but it's gotta give somewhere.
- If you're committing to
 Qin's Sais and
  Death's Embrace, then while your current AS is good, it's still not optimal. Looks like at level 20 at max tide, your AS is 2.24 in your build. When I commit to these, I want it as close to the max 2.5 AS cap as possible, to eke out as much as I can from those items.
- In your situational items notes, you give an option to replace WD with PS or SS. Per above, WD is your ONLY source of pen. That is, no offense, not a good suggestion at all.
- O-Bow is a functional item for her, but doesn't mix well with crits. Crits multiply off your base damage, and 0 power doesn't increase your base damage. Also, Qin's is a very strong item in a high AS build, and will be your best source of DPS against a single target, especially tanks. If anything, you'd be better combining O-Bow AND Qin's, along with other items that are core (again, penetration!!!).
 Blink Rune just shouldn't be one of the relics you choose. It's been very situationally used on specific gods / roles, rarely for hunters.
There's a reason other builds are used often. They cover all the general bases of stats that are important. While I get your concept, it's just missing too many things for me to suggest. In the game you had success w/ your build concept, it very likely didn't have to do so much with build, and likely more the lack of skill of your enemy. 2 games with this build isn't proof of concept, especially when you only had success once (8/2 first game, 3/10 the other). And while you read guides that were posted and tried them, it looks like you may have only tried another build once. One game is usually not indicative of the effectiveness of a build, though when you have enough knowledge of builds, you can usually look at them and tell if it is good/functional or not.I suggest giving the standard builds a much longer try. Go high base AS with Qin's, or try a crit build with over 50% crit chance. Make sure you have adequate penetration / protection reduction. Over the long run, you'll likely have more success with these. If you're finding you're not surviving long enough without 3 lifesteal type items, then I think it's possible your awareness / vision is lacking, or you're just being outboxed in general.