
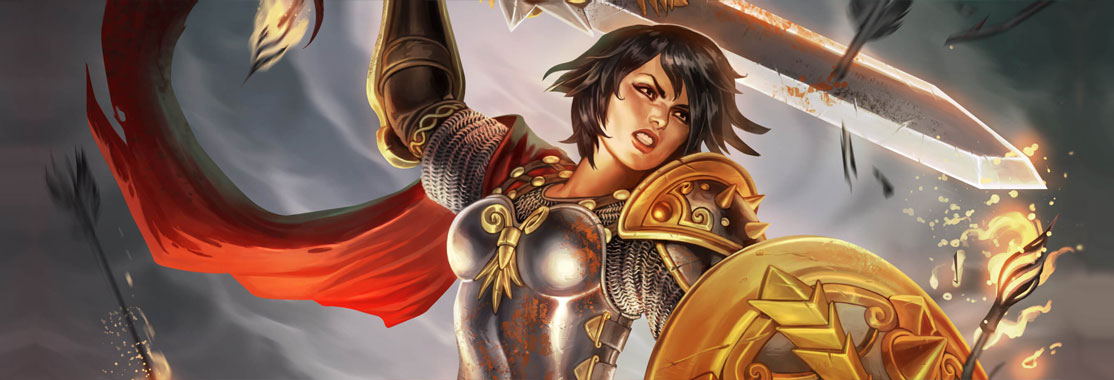
This guide has not yet been updated for the current season. Please keep this in mind while reading. You can see the most recently updated guides on the browse guides page
Vote received! Would you like to let the author know their guide helped you and leave them a message?
 Warrior's Blessing
 Cloak of Meditation
 Berserker's Shield
 Hide of the Nemean Lion
 Breastplate of Valor
 Shield of Thorns
 Bracer of Radiance
 Frostbound Hammer
 Genji's Guard
 Titan's Bane
 Y
Y
 B
B
 A
A
 X
X

Tap each threat level to view Bellona’s threats
I will be the first to say I have only recently started playing this build (about 10 games). However I am having a lot of success with it.
I have found that if i am tank-y enough to stay in lane my teams jungler can focus on helping with mid and duo lane so being able to stay in lane is key to this build.
I know going for Meditation is not normally recommended, but this build is all about surviving without the help of the jungler.
Hide of the Nemean Lion and Breastplate of Valour are there to take on your normal warrior solo characters.
Gengi's can be changed for Pestilence depending on the other teams late game builds.
Frost bound hammer will keep you close and make sure no one gets away from you easily.
Titans bane is late game and should help you do some damage in team fights.
But most importantly Bezerkers shield is a must, once you have it, you can box with anyone and combined with your shield bash you will be able to stay alive and box in lane very easily.
Warriors blessing will be changed for Titans bane for end game.
Second relic depends on how you are doing, if you are the focus of most team fights then i would say bracer to keep you alive, if you are the one starting most fights then i would advise thorns. Both work very well with this build, but I think thorns is just slightly more useful as you can do more damage in team fights.
Focusing on wave clear is essential, hence bludgeon is key early game.
However once you have bezerker shield focusing on shield bash is key for your boxing potential. combined with Nemean, you should be able to win most fights early to mid game.
Scourge is not so important as Bezerker shield is key to keeping you alive.
I started using this build when I was in a game where my jungler wasn't able to help solo much.
Using bludgeon to clear wave then using shield bash to box (with nemean and thorns as well) I have found most people will back off and you will gain instant pressure.
These items should mean you can heal from wave and Meditation is just so useful when fighting in a 2 on 1 situation. But thats what you need to be prepared for, thats why this is such a tanky build.
I haven't used it in ranked yet. But I will update when I know.
Pros
Very tanky only need to get mana buff and you should be self sufficient
not many can dash away far enough (once you have frost bound)
can life steal so much the other player will sit under tower
you can take tower hits very well
cons
you will be double or even triple ganked!
you won't do much damage until late game
have to use ult to get out of bad fights (at least you'll stay alive)
you wont do much tower damage
You should be prepared to be ganked a lot, however once you have Nemean you should be able to stick in the fights for a bit longer.
Remember to ward
For early game you will be lonely, mid game you may see your jungler a bit, but you wont be able to rotate until you take tower, which with this build isnt easy.
Late game, rotate and just get stuck in, you can be a great front line, and even better back line chaser, with your ult you should be able to chase the squishies. (but chasing squishies isnt your job, so stay in the main fight). Med will be key to helping everyone else stay in and do the damage while you soak it all up.
If you do find you are the last one in a team fight, remember your wiggles! Wiggles for days and you should be able to do a lot of damage with Nemean and shield bash.
SMITEFire is the place to find the perfect build guide to take your game to the next level. Learn how to play a new god, or fine tune your favorite SMITE gods’s build and strategy.
Copyright © 2019 SMITEFire | All Rights Reserved


Where is your boots, boy?!
Leave meditation cloak to the support.
This seems like a pretty decent start, but I would list more situational items like
Just like the people who think aphro is a good support.
In all honesty, without the upgrade, Meditation Cloak isn't really all that far behind
In the early game, Med is arguably more functional. Did you take a look at stats?
Healing:
- Meditation Cloak: Restores 75 health + 12 per level. CD 120 seconds.
 Magic Shell: Provides a shield with 100 health + 12 per level, for 3 seconds. CD 150 seconds.
You get to keep that health with Med, while Shell only provides 25 health more, and it's in shield form with a limit of 3 seconds...with a longer CD.But wait...
Additional function:
- Meditation Cloak: Provides 30% mana.
 Magic Shell: Provides...nothing else.
Early game, if you get Med, say as Support, not only do you provide a bit of health, but a nice base of added mana. If you and your ADC plan for this, you can invest less inOf course, late-game, the Shell upgrade provides 2 stacks of Block, which can absolutely be more helpful, especially when facing ADC crits on a squishy. I don't put as much value in the Med upgrade's mana cost reduction or 1 second CD reduction...though it can be helpful, it's less obvious.
In any case...that early game function from Med CAN be a positive compared to Shell.
(Personally, I often like to go for
Normally, you might get a couple of
Depends also for me if I go right into Sov (where the HP5 helps with no chalice), or if I want to get Reinforced instead of something else like Focus. If I go Reinforced to Sov, then yeah, boots rush is better.