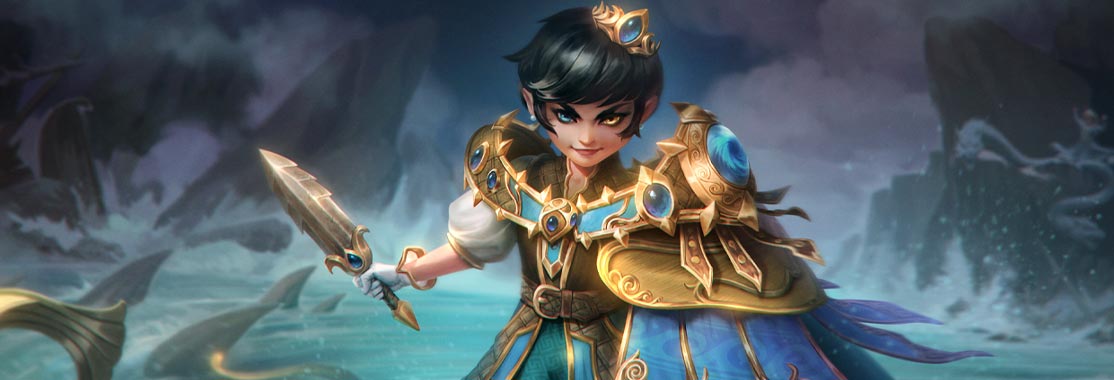
Charybdis' attack speed increases as her Tide increases. Successful Basic Attack hits increase her Tide. Charybdis deals less damage with item effect procs.
Tide Attack Speed: Attack speed increases up to 10% +0.75% per level/ at max Tide
Basic Attacks: 2% Tide on Hit
Reduction: Item effect proc damage reduced by 30%

Simplified Explanation
Passive Attack Speed
The first part of Charybdis' passive is a tide bar that fills up the more she auto attacks. It will fill by 2% for every 1 basic attack, up to 100%. As the bar fills, Charybdis gains passive attack speed, up to 10% +0.75% per level at 100% tide; this would be 25% bonus attack speed at level 20 at max tide.
Item Effect Proc Reduction and Attack Chain
The second part of Charybdis' passive is that ALL of her basic attacks deal 30% less damage with item effect procs, not just the 3 fast ones. This primarily affects  Qin's Sais and
  Odysseus' Bow
To clarify, this does not mean her autos do less damage with items or she gets less power, or she crits for less, etc. all it means is that the damage from item effect procs (yellow numbers) is decreased. HOWEVER, she does deal less damage and crit for less on her 3 fast autos, but her first 2 autos do 100% damage each and her 3 fast autos together do 120% damage. This 30% reduction is only talking about ITEM EFFECT PROCS.
What does that mean;
Imagine a normal hunter with Qin's Sais. They auto 3 times for 300% item effect proc damage because 1 auto does 100%.
Now imagine Charybdis. In the same time it takes a normal hunter to auto 3 times, she autos 5 times but every auto only does 70% item effect proc damage. IF you hit every auto, Charybdis will do 350% damage. However, if you miss even one, she will do less than the 3 autos of a normal auto.
Charybdis reveals The Maw as it fires large spikes for a short duration dealing Basic Attack damage. These projectiles pass through minions and are wider and faster than normal Basic Attacks.
On hitting enemy gods and walls, the spikes splinter dealing additional damage.
Minion Damage: 80/85/90/95/100% scaling
Splinter Damage: 10/15/20/25/30 (+15% of your Physical Power)
Splinter Tide: 2% Tide per hit
Cooldown: 14 seconds
Simplified Explanation
This ability gives Charybdis autos that are similar to Izanami's or Rama's when he has  Astral Strike activated. The difference is that it passes through minions, camps, etc. but it stops on enemy gods and splinters in all directions.
This ability is mainly used to clear waves, camps, etc., and maybe poke the enemy if they are too close to the wave while you are clearing. This ability does give Charybdis a lot of space because anytime the enemy ADC steps up to clear you can hit them and the wave at the same time.
This ability is also very good for building tide. For every enemy hit, you get 2% tide. So hitting all 6 minions even once with this stim gives you 12% tide.
It's also good to use in teamfights because of the splinter damage and it also gives you normal autos instead of her 1/1/.4/.4/.4 chain. The splinter damage isn't significant but it's useful.
Charybdis absorbs water from around her before firing a quick blast from The Maw. Enemies are hit by a rapidly decaying Slow and Physical Protection debuff. This ability can be channeled for longer, consuming Tide on fire, to become wider, strengthen the debuff effects and deal more damage. Up to 40% Tide consumed.
Damage: 80/130/180/230/280 (+85% of your Physical Power)
Extra Scaling: 30%
Slow: 40% on max Tide
Physical Protection Reduction: 40% on max Tide
Duration: 4s on max Tide
Cooldown: 16/15/14/13/12 seconds
Simplified Explanation
This ability is good for clearing waves, camps, etc. as well as dealing damage and shredding protections, slowing, and damaging enemies.
The range of this ability is relatively short so you have to be closer to get the damage off, but the protection reduction especially is VERY good, especially against tanks.
You only get 40% protection reduction and slow for 4s if you use the full 40% tide required. This requires a longer winding up time as well because the cone has to grow to full size.
I will do the math for you real quick;
10% tide consumed: 10% slow, 10% protection reduction, lasts 1s.
20% tide consumed: 20% slow, 20% protection reduction, lasts 2s. Damage scales +10%
30% tide consumed: 30% slow, 30% protection reduction, lasts 3s. Damage scales +20%
40% (max) tide consumed: 40% slow, 40% protection reduction, lasts 4s. Damage scales +30%
Charybdis dives into a whirlpool she creates, expanding and revealing the terrifying Maw. Charybdis moves faster and deals damage to enemies caught in the area. This ability can be amplified by toggling it again and spending 30% Tide. Doing so increases the damage dealt and movement speed as well as providing extra damage and a knock-up on exiting. While submerged, Charybdis is untargetable and immune to damage for up to 3s.
Damage: 10/15/20/25/30 (+5% of your Physical Power) every 0.5s
Amplified Damage: 20/30/40/50/60 (+10% of your Physical Power) every 0.5s
Exit Damage: 60/100/140/180/220 (+65% of your Physical Power)
Movement Speed: 20%
Amplified Movement Speed: 40%
Cooldown: 17/16.5/16/15.5/15 seconds
Simplified Explanation
I already said it but this is, in my humble opinion, the BEST ability in Smite. This ability literally makes you untargetable for up to 3 seconds while moving at 20-40% increased movement speed. If you are being Neith ulted, Ares ulted, Da Ji ulted, etc. all you have to do is press 3 and they are removed.
Normally, if you pass through a tower and then exit the bolt is like a honing missle with a grudge. If you use  Whirlpool Form under a tower, it immediately forgets you exist and you will not be hit with a tower shot once you exit the 3.
Same with Neith ult, normally it is waiting for you to land from wherever you are. If you go into Whirlpool Form the Neith ult just disappears.
ALSO, this ability does crazy damage for no reason. It is an amazing escape but it's also good to aggro, especially if you have enough tide to amplify it.
This ability will not do the knock-up exit damage unless it is amplified but even the munch damage is crazy, especially because they cannot do anything about it. You are untargetable and undamageable while doing damage to them and then knocking them up with burst damage at the end.
This ability makes her extremely hard to gank or tower dive. It is an amazing ability and that is why you want to max it 2nd to get it off cooldown faster!
ALSO! This ability can go through player-made walls - Yemoja ult, Anhur pillar, Ymir wall, Odin cage, etc.
Charybdis reveals her true nature, becoming immune to Crowd Control for the next 6s, and gaining movement speed. She may make one powerful attack as The Maw charges forward, damaging and carrying back enemies hit before chomping down, damaging again and stunning. If she kills an enemy god with the attack, she gains another 6s and may attack again.
Charge Damage: 60/90/120/150/180 (+20% of your Physical Power)
Bite Damage: 300/400/500/600/700 (+150% of your Physical Power)
Stun Duration: 1.3s
Movement Speed: 35%
Simplified Explanation
This ultimate is good for the 6 seconds of cc immunity as well as the increased movement speed. It can be used for escaping, chasing, or doing damage off someone else's setup.
What this ability is NOT good for is trying to kill enemies, especially in front of the entire enemy team. The reason for this is (sometimes) you have to stand still to cast it, and you are also standing still the entire duration of the animation. This makes you a giant, fragile, still target that can be one-shot by anyone.
You can definitely use this ability in the laning phase when it's just you and one other enemy, but even that is unsafe depending on the matchup. Any enemy can just beads and then get multiple free autos on you while you are stuck in animation. If they are Anhur or something they can just ult your ult and murder you because you are STILL and tanking every single shot.
What I would suggest using this ability for primarily is the 6s of CC immunity and the increased movement speed for escaping. You can also use it to secure objectives when there is another carry doing damage (jungler or mage probably). You can also use it when you have a good setup and you are safe enough to stand still for a little while - Ne Zha ult, ***bha ult, Ymir freeze, etc. all keep the enemy in place long enough for the ult.


 Death's Toll
 Mace
Mace
 Healing Potion
 Mana Potion
 Death's Temper
 The Crusher
 Asi
Asi
 Demon Blade
 The Executioner
 Deathbringer
 Y
Y


Solid build of course (standard / universal meta). I do like your commentary for the abilities, and they seem accurate to me.
Quick question: have you ever used