

Vote received! Would you like to let the author know their guide helped you and leave them a message?
 Selflessness gives you good stats for playing safe and shields when you or an ally receives crowd control.
 Health Chalice Hp sustain for the lane.
 Phantom Shell Provides you with a shield and you can also pass through the walls of allies and enemy gods.
 Bifrost Shard gives you a free ward that lasts 90 seconds. It is useful for early ganks from the enemy jungler.
Selflessness gives you good stats for playing safe and shields when you or an ally receives crowd control.
Health Chalice Hp sustain for the lane.
Phantom Shell Provides you with a shield and you can also pass through the walls of allies and enemy gods.
Bifrost Shard gives you a free ward that lasts 90 seconds. It is useful for early ganks from the enemy jungler.
Selflessness
Health Chalice
Bifrost Shard
Phantom Shell
 Heroism gives you really good stats and a big shield when you or an ally receives crowd control.
 Gauntlet of Thebes you need to stack this item with minion or god assists up to 40 to give you a lot of health and 10 mixed defenses.
 Genji's Guard gives you magical defenses and cooldown reduction and its passive makes that when you receive damage your abilities get 3 seconds less cooldown reduction.
 Stampede gives you physical defenses and health, and its active is a sprint for you and allies that increases your movement speed by 30%, really good for chasing or escaping.
 Shell of Rebuke Provides you with a shield and you can also pass through the walls of allies and enemy gods. It's the same as the relic Phantom Shell but it's an item.
 Hide of the Nemean Lion right now the carries are very strong and this item gives you a passive that when you activate it you reflect damage, that's why it's very good vs carries.
 Freya's Tears gives you magical and physical defenses and cooldown reduction, really good to spam abilities.
 Blink Rune teleport you in front on you, perfect to do an engage. Bifrost Shard gives you a free ward that lasts 90 seconds. It is useful for early ganks from the enemy jungler.
Heroism gives you really good stats and a big shield when you or an ally receives crowd control.
Gauntlet of Thebes you need to stack this item with minion or god assists up to 40 to give you a lot of health and 10 mixed defenses.
Genji's Guard gives you magical defenses and cooldown reduction and its passive makes that when you receive damage your abilities get 3 seconds less cooldown reduction.
Stampede gives you physical defenses and health, and its active is a sprint for you and allies that increases your movement speed by 30%, really good for chasing or escaping.
Shell of Rebuke Provides you with a shield and you can also pass through the walls of allies and enemy gods. It's the same as the relic Phantom Shell but it's an item.
Hide of the Nemean Lion right now the carries are very strong and this item gives you a passive that when you activate it you reflect damage, that's why it's very good vs carries.
Freya's Tears gives you magical and physical defenses and cooldown reduction, really good to spam abilities.
Blink Rune teleport you in front on you, perfect to do an engage.
Bifrost Shard gives you a free ward that lasts 90 seconds. It is useful for early ganks from the enemy jungler.
 Heroism
 Gauntlet of Thebes
Genji's Guard
Stampede
Shell of Rebuke
Hide of the Nemean Lion
Freya's Tears
Bifrost Shard
Blink Rune

 Y
 B
 A
 X

Tap each threat level to view Kuzenbo’s threats
Tap each synergy level to view Kuzenbo’s synergies
Hi, this guide is brought to you by lestimics. I started playing Smite 1 on PC in 2014. I've been playing competitively since 2020 and have been a professional Smite player from 2021 to 2023. I've played on different teams like JustF6, Gilded Gladiators or Tartarus Titans.
You can check out the SmiteVOD YouTube channel where my recorded professional games are. I've peaked at 3500 MMR GrandMaster/Masters in Ranked Conquest on the PC platform every season since 2018. I've also done Smite Masters (LAN) 4 times in 2022, I also continue to compete in Smite 2 in leagues like SmiteSource and smiteprime so I really think I have the knowledge to guide on the Support role in SMITE 2.
I hope you find this guide as a useful learning resource for playing  Kuzenbo as Support.
Here are my socials:
|
Passive -
 Water Bowl When you take damage, you stack your passive to gain damage mitigation, which makes you a bit tankier. |
|
Ability 1 -
NeNe Kappa Kuzenbo throw a NeNe Kappa that deals damage and can ricochet off walls. If you hit an enemy you cause slow and it bursts from its shell, attacking for a duration. This NeNe Kappa has a part of protections and Kuzenbo health.This is Kuzenbo's primary ability, it will help you push minion waves, poke, and harass enemy gods.
|
|
Ability 2 -
Shell SpikesWhen you activate this ability, you reflect a portion of the damage received as magical damage back to enemies who attack you, additionally, when you take damage, the cooldowns for your abilities NeNe Kappa and  Sumo Slam are reduced. This ability is very good and annoying, especially in the late game, because adcs and mages deal a lot of damage and can have a large portion of that damage reflected back at them. It’s like having a  Hide of the Nemean Lion. |
|
Ability 3 -
Sumo Slam Kuzenbo dashes forward, dealing damage to minions and becoming immune to slows, if he hits an enemy god, he silences and push him, and if he knocks him into minions or a wall, he deals extra damage.It’s another ability that’s very annoying to play against, because it can easily leave you out positioned. |
|
Ultimate -
Watery GraveYou pull into your shell and start spinning, gaining movement speed and damage mitigation while becoming immune to crowd control, you also deal damage to enemies and knock them back. It’s a very good ultimate in teamfights, thanks to all the stats it provides and the knockbacks you can apply consistently plus, if the enemy doesn’t have  Purification Beads, they can’t easily escape. |
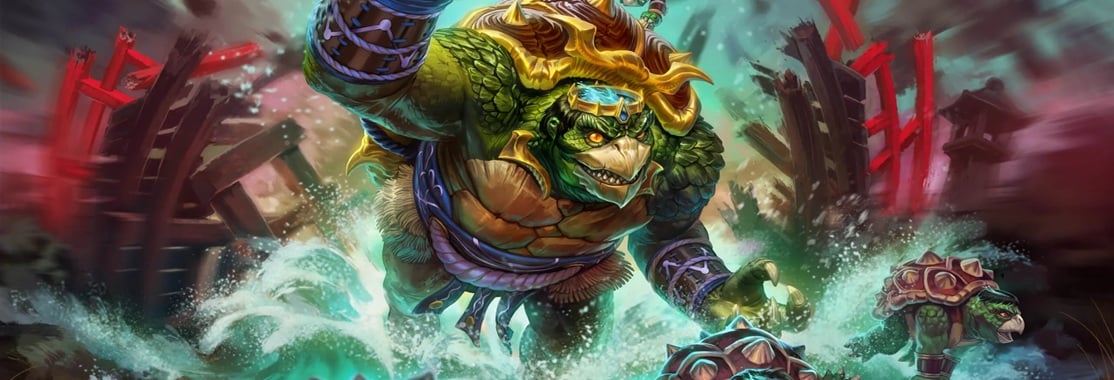
NeNe Kappa, and be ready to interrupt the support's abilities using Sumo Slam, knocking them into the minions to deal damage. Use Shell Spikes to reduce cooldown and reflect damage when you take damage. NeNe Kappa to deal damage and apply a slow, if the enemies hit you use Shell Spikes > try to out position an enemy using Sumo Slam. Furthermore, your abilities have very short cooldowns, so feel free to spam them. Use your ultimate Watery Grave, to apply crowd control and deal damage to as many enemies as possible. Watery Grave if all the enemies are grouped together, you can apply a lot of CC. Da Ji and
 Fenrir.
NeNe Kappa, position yourself in the purple buff area, standing sideways and facing the wall so you can hit a triple bounce with NeNe Kappa, this will help you clear the buff quickly with the adc helping, and then go to the lane to push the minions. You and your adc will reach level 2 in the second wave of minions, so be careful because whoever reaches level 2 first has a huge advantage. You can charge on the enemy gods, and whoever is level 2 will always win if the others are level 1. Pay attention to who pushes the minions first because it's your opportunity to attack or retreat. NeNe Kappa to help push minions and harass the enemy adc. Sumo Slam on an enemy god, pushing them into the minions > Shell Spikes > NeNe Kappa. Bifrost Shard. Purification Beads so that your or the jungler's next gank has a better chance of securing a kill. Furthermore, if you manage to do this, you can do Gold Fury or Pyromancer, although it's important to know the enemy team's position beacause they can't steal it (the support usually tanks the objetives). Additionally, it's important to gain mid-lane pressure and be present when the beacon appears, which is an area that grants you experience and crystals to earn a ward that provides vision of all players and a naga in each lane. NeNe Kappa to deal damage and apply a slow, if the enemies hit you use Shell Spikes > try to out position an enemy using Sumo Slam. Only by gaining pressure you can get more farm, force Purification Beads, and make the enemy lose farm. Sumo Slam on an enemy god to outposition him, followed by NeNe Kappa to apply a slow; if the enemies bunch up too much or try to engage on you, use Watery Grave, and looking for a blink ultimate is also a good option. Also remember to use your actives like Stampede and Shell of Rebuke because they are really importants for your team. Also, try to harass the adc in particular, thanks to Shell Spikes you’ll reflect so much damage, combined with your other abilities you will win the 1v1.
 Vision Ward
 Sentry Ward

SMITEFire is the place to find the perfect build guide to take your game to the next level. Learn how to play a new god, or fine tune your favorite SMITE gods’s build and strategy.
Copyright © 2019 SMITEFire | All Rights Reserved




 Shackles
 Sobek
 Charge Prey

 Immovable

 Awilix
 Gravity Surge


Leave a Comment This author would like to receive feedback
and suggestions about their guide.
You need to log in before commenting.
Collapse All Comments