
This guide has not yet been updated for the current season. Please keep this in mind while reading. You can see the most recently updated guides on the browse guides page
Vote received! Would you like to let the author know their guide helped you and leave them a message?

These are the starting items for the attack speed and power build there will problem be a few others so I wanted to make sure yall could tell the difference between them.
Also for the starting relic in this build I suggest getting beads, since it will get you out of some tough situations early game.
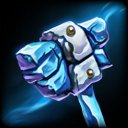
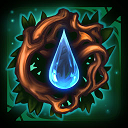
 Manikin Scepter
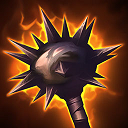
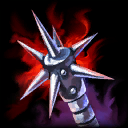
 Cudgel
 Healing Potion
 Mana Potion
These are the starting items for the Pen / power build there will problem be a few others so I wanted to make sure yall could tell the difference between them.
Also for the starting relic in this build I suggest getting beads, since it will get you out of some tough situations early game.
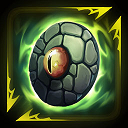
 Eye Of The Jungle
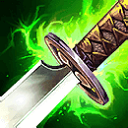
 Katana
Healing Potion
Katana
Healing Potion
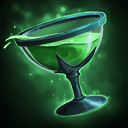
 Multi Potion
For this build you are trading a lot of your defense for power. There are other builds that I am going to be putting here that will give you close to the same attack speed but will be more defense oriented then power.
Keep in mind that you can add other items to this build to cover for magical defense or physical defense I use this build when I want to go full power though and usually to have fun and not really win.
 Manikin Hidden Blade
 Frostbound Hammer
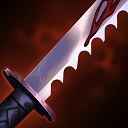
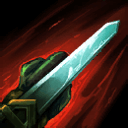
 Stone Cutting Sword
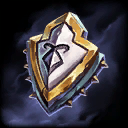
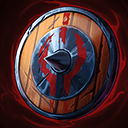 Berserker's Shield
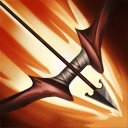 Atalanta's Bow
 Silverbranch Bow
This build is more focused on the pen side of things. This build will help you when it comes to shredding through enemy's heath even if they have defense.
But you will have to keep in mind that you will die very easily because you have no protections in this build.
You can however throw on some defense items if you want but they come to be very situational. You can find some of those items in the situational tab.
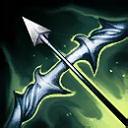
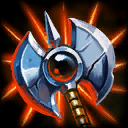
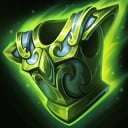
 Protector Of The Jungle
Stone Cutting Sword
Protector Of The Jungle
Stone Cutting Sword
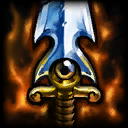
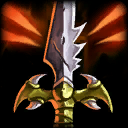
 The Crusher
 Qin's Sais
 Dominance
 Serrated Edge
![]() Asi : This is to give you more survivability since you take a lot of damage, it also give you the 25% attack speed and 20% lifesteal if your into that.
Asi : This is to give you more survivability since you take a lot of damage, it also give you the 25% attack speed and 20% lifesteal if your into that.
![]() Bloodforge : This can give you lifesteal which can help you out in some cases. but be carful for anti-heal.
Bloodforge : This can give you lifesteal which can help you out in some cases. but be carful for anti-heal.
![]() Dominance : In certain cases this can help your build get the extra ump it need to get through that high defense on some enemy characters.
Dominance : In certain cases this can help your build get the extra ump it need to get through that high defense on some enemy characters.
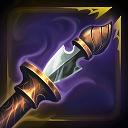
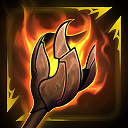
![]() Brawler's Beat Stick : This can give your build anti-heal to counter healers on the opposing team.
Brawler's Beat Stick : This can give your build anti-heal to counter healers on the opposing team.
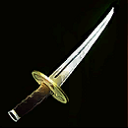
![]() Serrated Edge : The 10% lifesteal combined with the 20% Pen can come in handy so this is a must run on some builds.
Serrated Edge : The 10% lifesteal combined with the 20% Pen can come in handy so this is a must run on some builds.
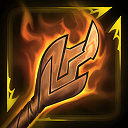
![]() The Executioner : This give you the 40 flat pen which will give you the edge in most fights so it you want throw it on there.
The Executioner : This give you the 40 flat pen which will give you the edge in most fights so it you want throw it on there.
![]() Witchblade : The 10% CDR with the 7% movement speed can help you if you are struggling to stick to people.
Witchblade : The 10% CDR with the 7% movement speed can help you if you are struggling to stick to people.
 Asi
Asi
 Bloodforge
Dominance
Bloodforge
Dominance
 Brawler's Beat Stick
Serrated Edge
Brawler's Beat Stick
Serrated Edge
 The Executioner
 Witchblade
![]() Runic Shield : This gives you the 50 Magical Protections but also lowers the enemy's protections by 40 which can help with getting though enemy protections.
Runic Shield : This gives you the 50 Magical Protections but also lowers the enemy's protections by 40 which can help with getting though enemy protections.
![]() Shield of Regrowth : This will give you 10% CDR but also synergizes with your 1 ability really well.
Shield of Regrowth : This will give you 10% CDR but also synergizes with your 1 ability really well.
![]() Spectral Armor : This will help when enemy's are building crit.
Spectral Armor : This will help when enemy's are building crit.
![]() Spirit Robe : Spirit robes is a amazing defense item if you are looking for a all rounder to throw on your build.
Spirit Robe : Spirit robes is a amazing defense item if you are looking for a all rounder to throw on your build.
![]() Void Shield : This give you power and Physical Protections so is a great hybrid item for some builds.
Void Shield : This give you power and Physical Protections so is a great hybrid item for some builds.
 Runic Shield
 Breastplate of Regrowth
 Spectral Armor
 Spirit Robe
 Void Shield
 Y
Y
 B
B
 A
A
 X
X

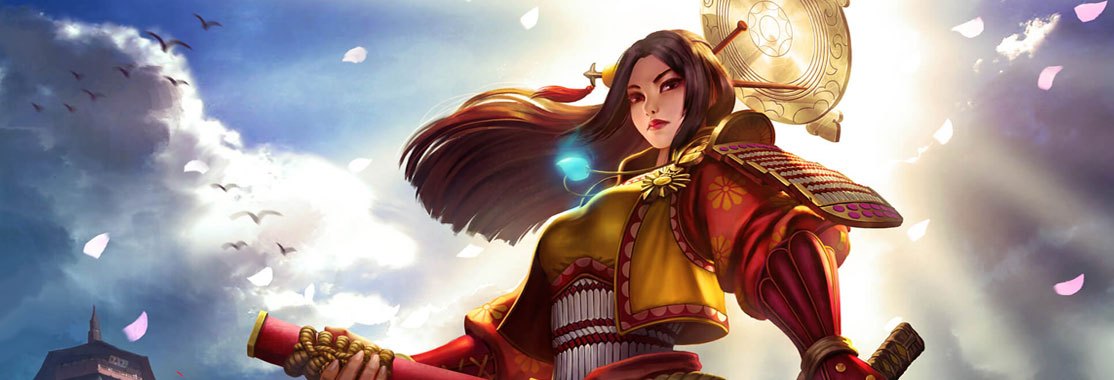
Hey and Welcome to my Amaterasu guide in this guide I wanted to go into as much depth as I possibly could about why I choose the things that I did for each build. I am pretty new to smite so I wanted to make a build to help everyone else with this character that I had such a difficult time picking up.
I hope that this guide might be useful since this is the second guide that I am making for this website. My first guide is on Tsukuyomi of you want to check that out. And please comment or send me any messages so that I can update and make this build even better for everyone out there.
SMITEFire is the place to find the perfect build guide to take your game to the next level. Learn how to play a new god, or fine tune your favorite SMITE gods’s build and strategy.
Copyright © 2019 SMITEFire | All Rights Reserved


Leave a Comment This author would like to receive feedback
and suggestions about their guide.
You need to log in before commenting.
Collapse All Comments